> For the complete documentation index, see [llms.txt](https://harpie.gitbook.io/welcome-to-the-harpie-docs/llms.txt). Markdown versions of documentation pages are available by appending `.md` to page URLs; this page is available as [Markdown](https://harpie.gitbook.io/welcome-to-the-harpie-docs/help/getting-started/get-protected/setting-a-withdrawal-address.md).
# Setting a withdrawal address
Learn how to set a withdrawal address so that you can withdraw recovered assets.
## Getting Started
In order to withdraw your funds after our frontrunner intervenes, you must set a withdrawal address. This withdrawal address has the ability to retrieve the funds that are being held in the vault. Setting a withdrawal address will cost gas.
First, make sure that you have created an account. If you have not already, visit to get started.
### Identify a wallet address you own and trust
You can only withdraw recovered tokens from Harpie using a wallet *you own*. A withdrawal address can be a smart contract compatible multisig or a newly created Metamask wallet or anything in between.
Verify that you can access the wallet associated with the withdrawal address and that you have sufficient backups for it (i.e. seed phrase or private key backed up). As a rule of thumb: **use a withdrawal address that is different from your connected wallet.**[ Read more about best practices](/welcome-to-the-harpie-docs/help/faq/what-is-a-withdrawal-address.md).
### Initializing your withdrawal address
There are two places to initialize a withdrawal address:
1. On the **dashboard** (look for "Complete Setup")
2. When [**withdrawing an asset**](https://harpie.gitbook.io/welcome-to-the-harpie-docs/guides/getting-started/faq/what-is-a-withdrawal-address) for the first time
### Initializing in "Complete Setup"
On h[ttps://harpie.io](https://harpie.io), click **"Enter App"** and connect with your wallet.
Follow the instructions and paste a wallet address that you own and trust.
Enter a valid address and accept the transaction
### Initializing when withdrawing a recovered asset
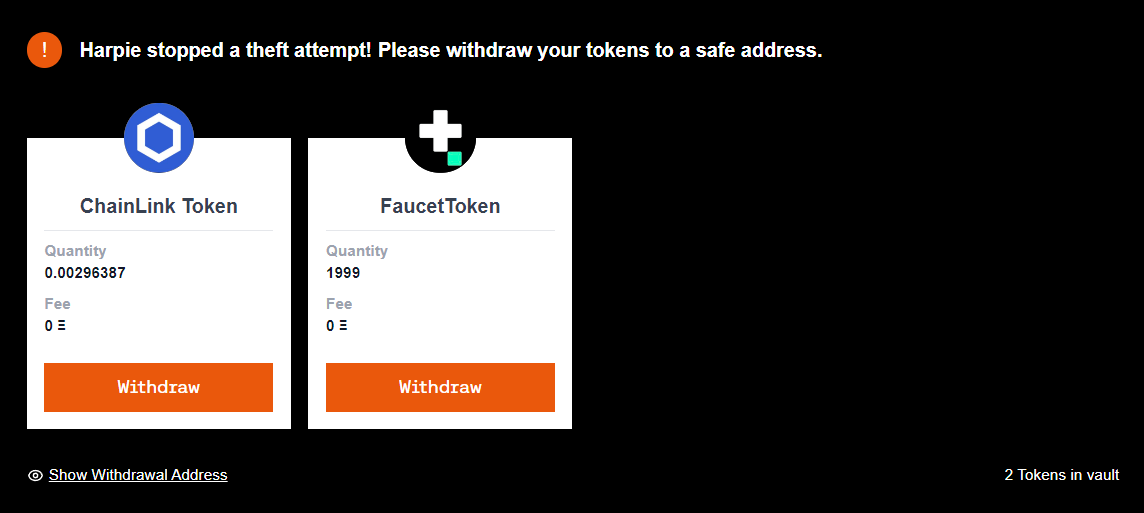
If you've already protected an asset and Harpie recovered it from a theft attempt, you will see it on your dashboard here:
An example of what you will see on your dashboard when Harpie recovers your assets
Clicking **"Withdraw"** on any asset in this screen will prompt you to setup a withdrawal address. Follow the instructions in the modal to finish your setup and withdraw your recovered assets.
### Accept the transaction
After entering a valid address, accept the transaction that appears on your wallet provider.